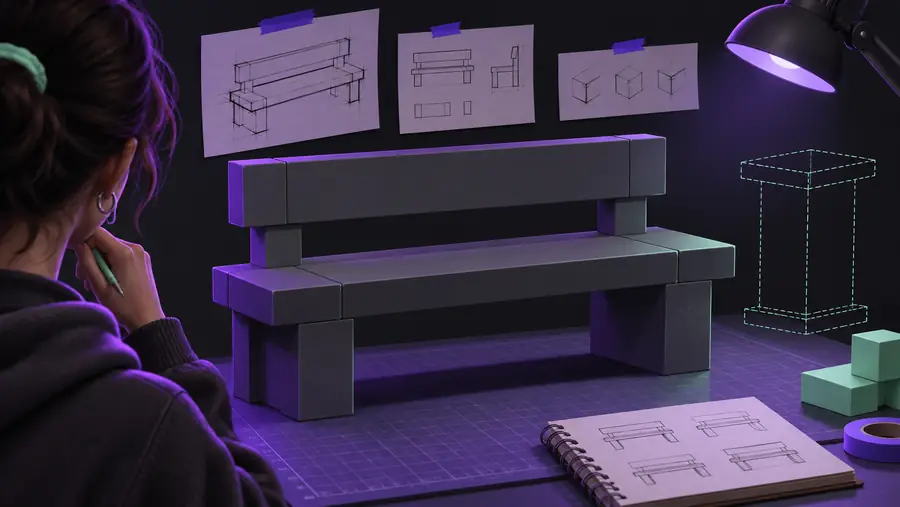
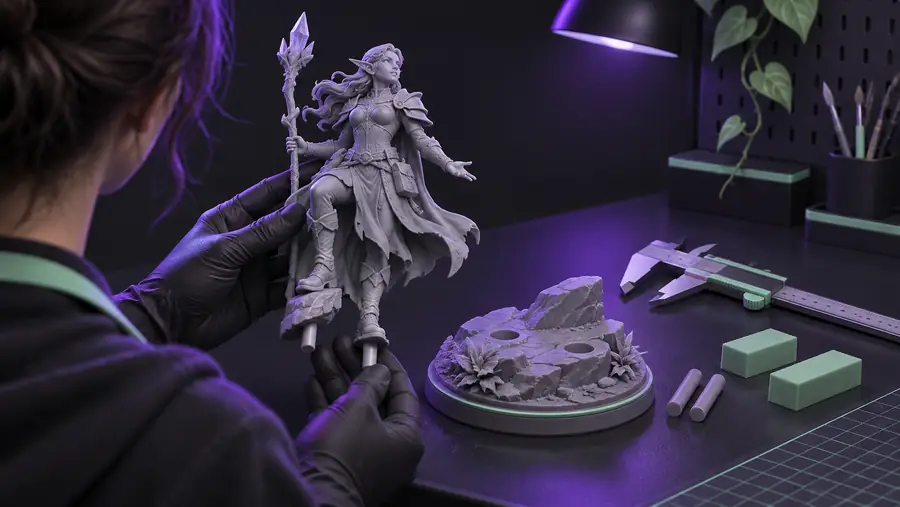
| Footprint |
Use a simple circle, square, or rectangle that is easy to describe and inspect.
|
Choose an irregular or multi-part footprint when the supported object or scene needs a specific silhouette.
|
| Base height |
Start with a low-to-medium profile that supports the object without competing with it.
|
Increase height when you need a pedestal effect, layered construction, or more visible side detail.
|
| Top surface |
Keep the top flat or gently stepped for predictable placement.
|
Use a recess, slope, or textured area when the object must appear embedded in a scene.
|
| Edge treatment |
Add a small bevel or rounded transition to avoid a harsh block-like appearance.
|
Use stronger tiers or a crisp rim when the design language calls for architectural or product-like geometry.
|
| Underside |
Keep it flat and uncomplicated for easy checking and stable placement.
|
Add mounting features, a cavity, or a shaped underside only when the base has a defined fit requirement.
|
| Surface detail |
Add one clear detail at a time, such as a border, panel, or shallow relief.
|
Combine several details only after the main silhouette reads clearly at the intended viewing distance.
|
| Reference prompt |
Describe shape, proportion, edge style, and intended use in that order.
|
Include materials, scene context, or visual references when the basic geometry alone is too generic.
|